Quick AWS S3 bucket setup
This article is also available in an extended version, which includes the instructions for setting up advanced CORS rules for enhanced security. You can read it here.
Before you can add buckets to Nebbl, you need to create them in the cloud storage provider services. Here are the detailed instructions for the Amazon AWS S3 service. The similar principles can be applied to other S3 compatible object storage services. You can also read the general guidelines for S3 compatible object storage in this article.
Creating an AWS S3 bucket
Our task is to get 5 credential items for our bucket, which are:
- Bucket name
- Region
- Endpoint
- Access key
- Secret key
Creating an Amazon AWS account and activating the S3 service
Go to https://aws.amazon.com/s3 and sign up for an account if you haven't already.
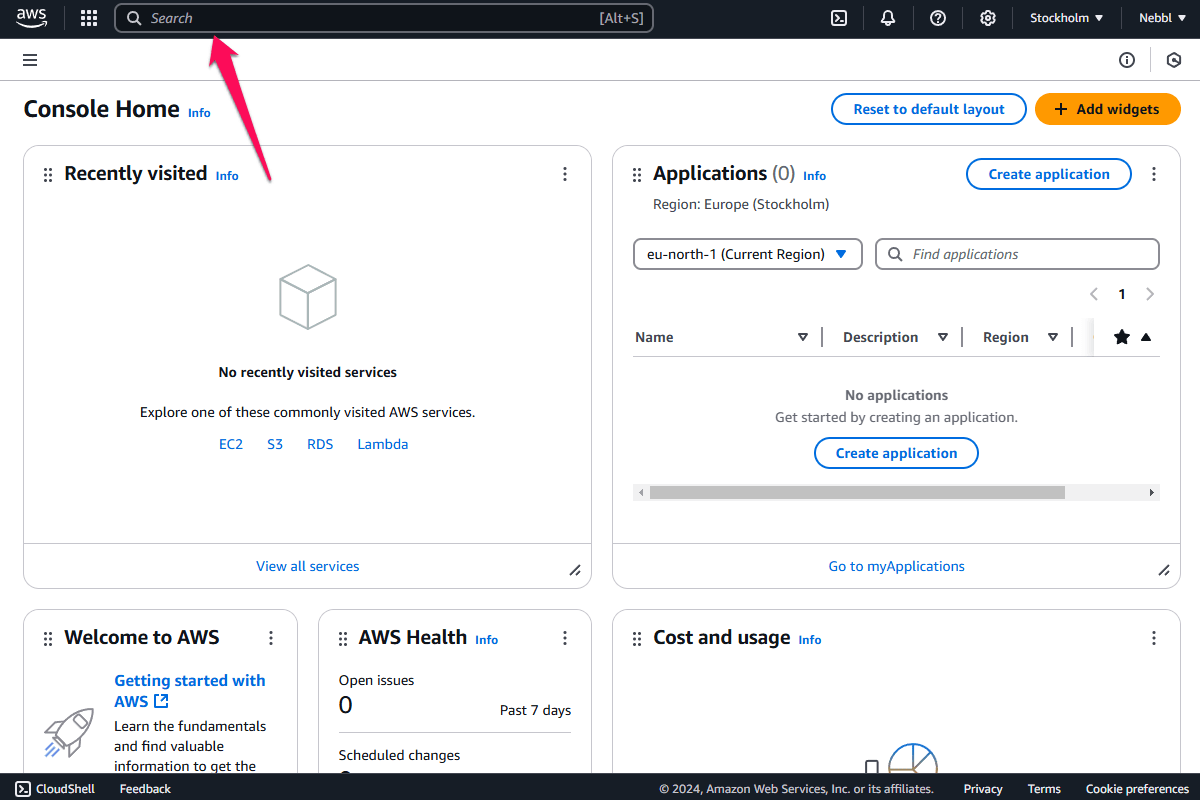
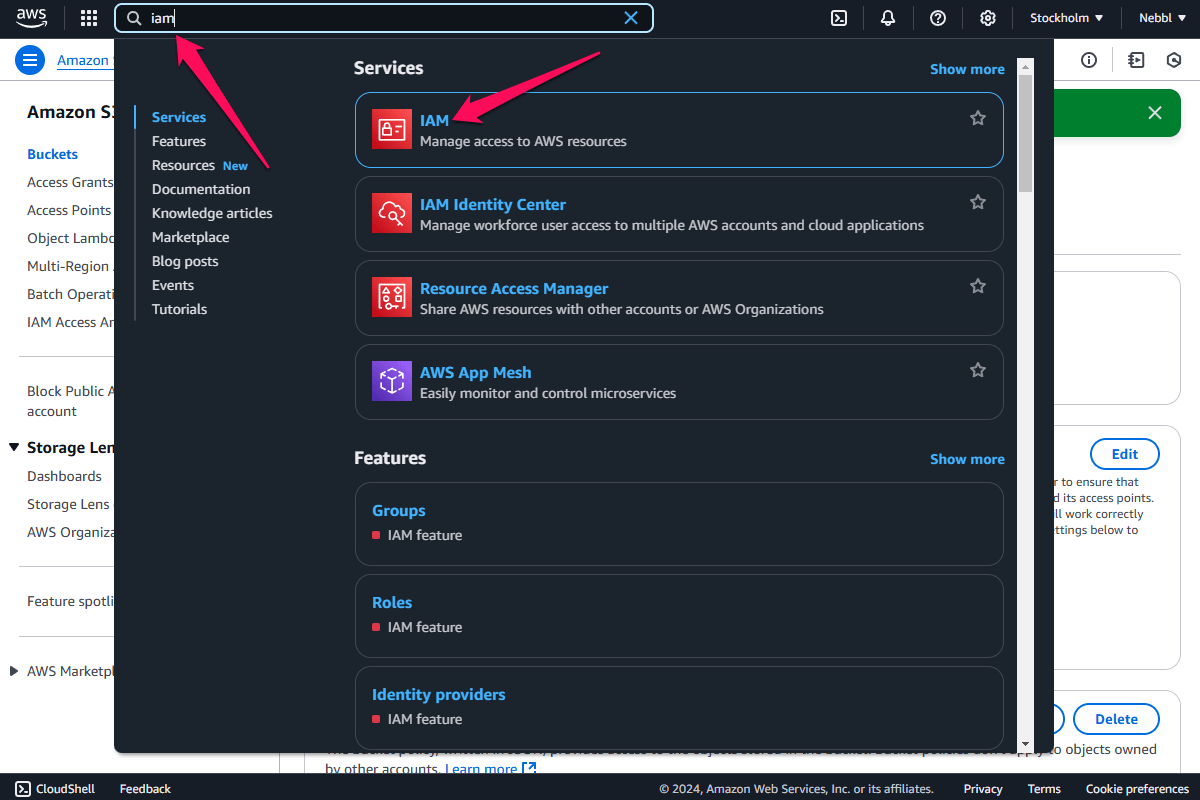
After registering and activating the account, in your AWS management console simply search for S3 in the search bar:
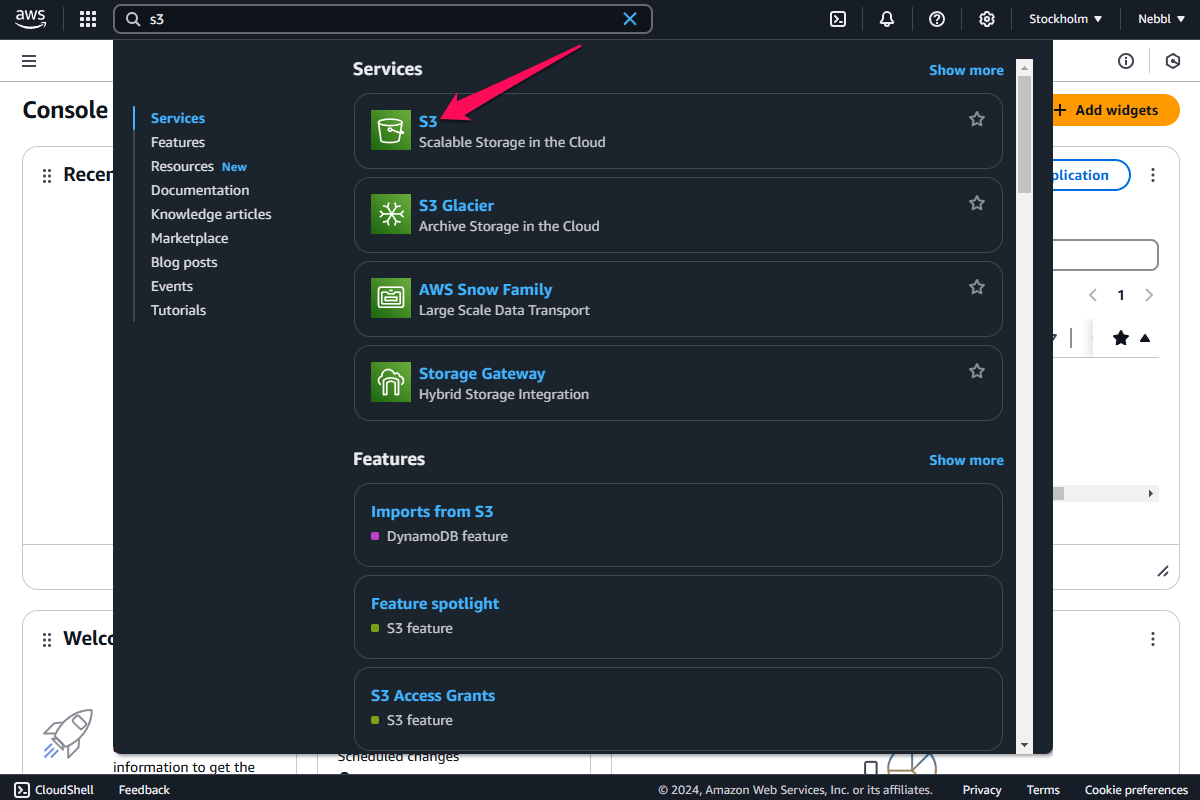
Click on the S3 service in the search results:
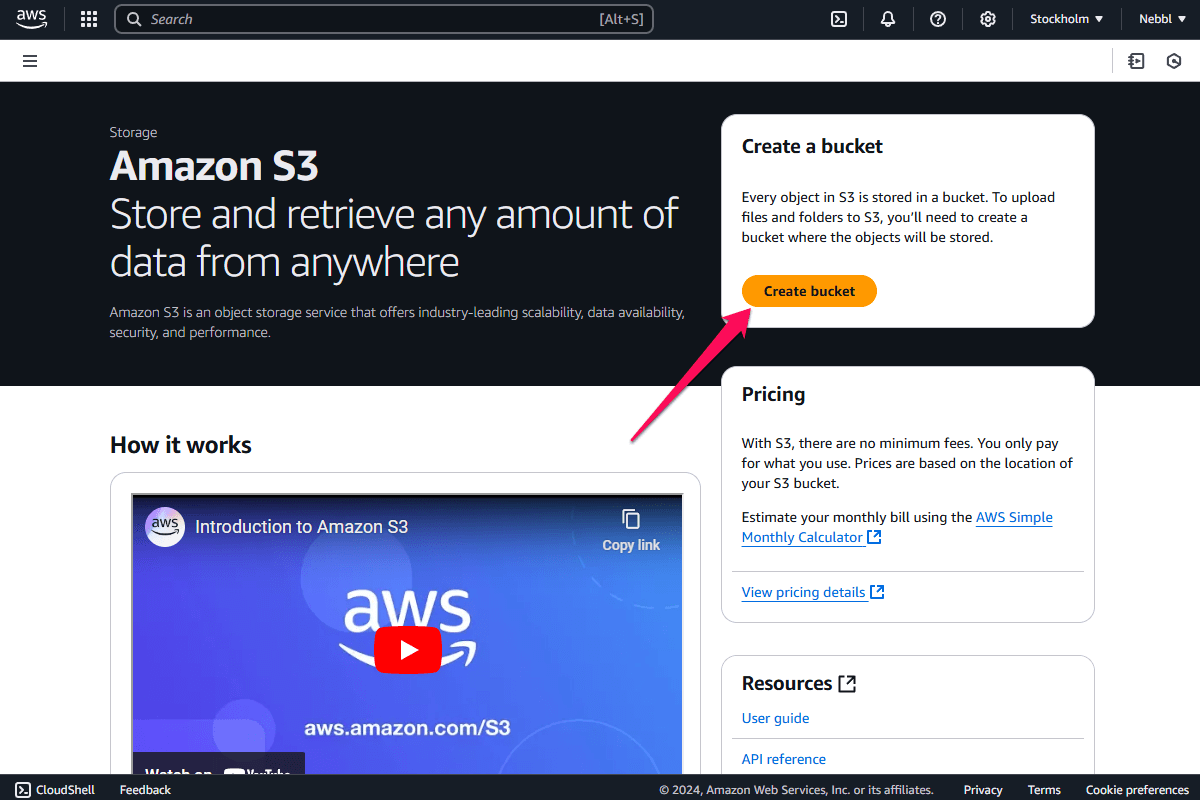
The Create bucket page will open, click Create bucket.
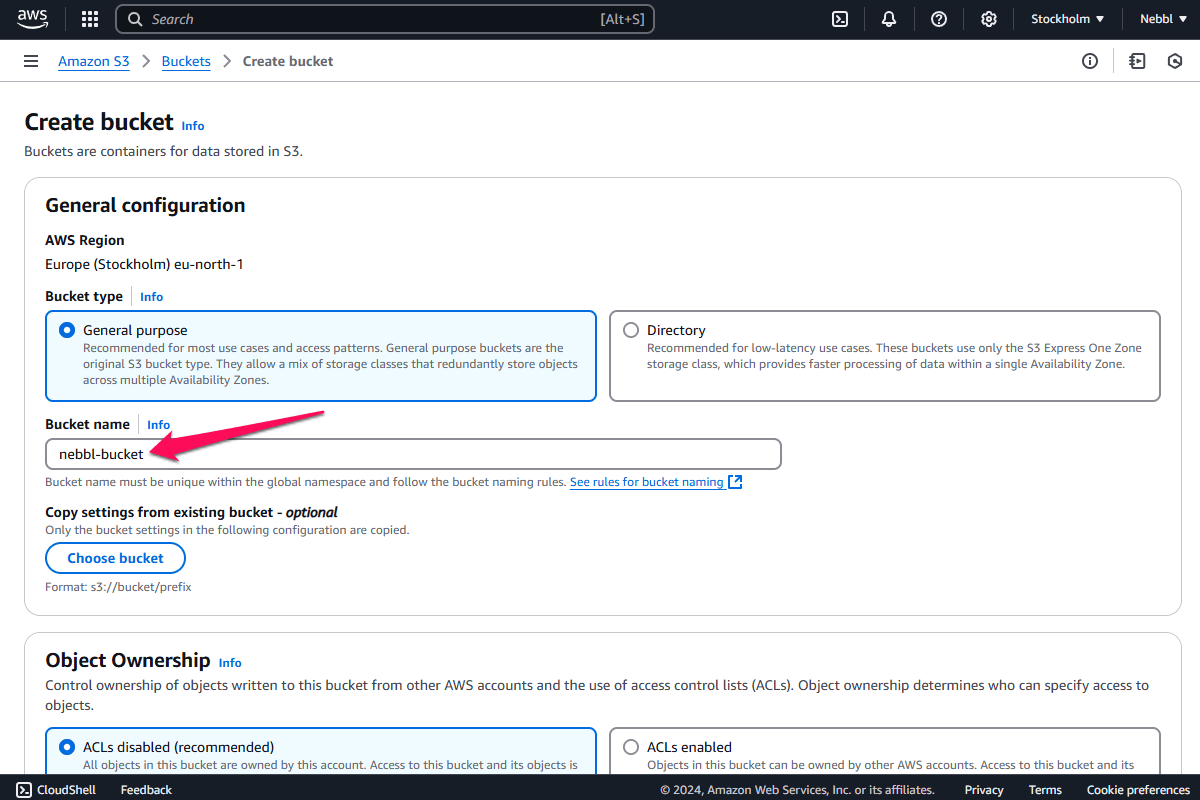
Enter your bucket name. For our purposes we choose nebbl-bucket as the name. This will be the first of our 5 credentials, please note it down.
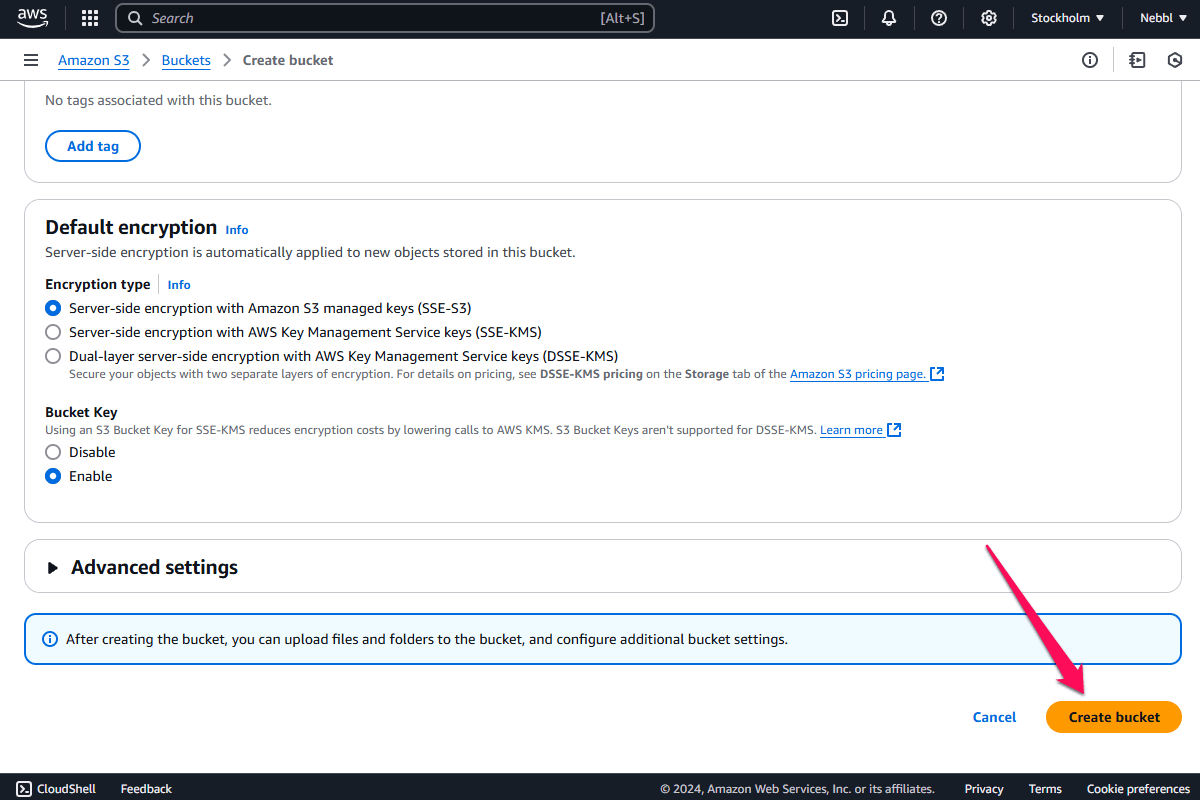
Scroll down to the Block all public access section and uncheck the box. Check the box for I acknowledge that the current settings will block all public access to this bucket. This is needed temporarily to set up the bucket for Nebbl and will be changed later.

Leave all other settings unchanged and click the Create bucket button at the bottom:
Getting the Region and Endpoint values
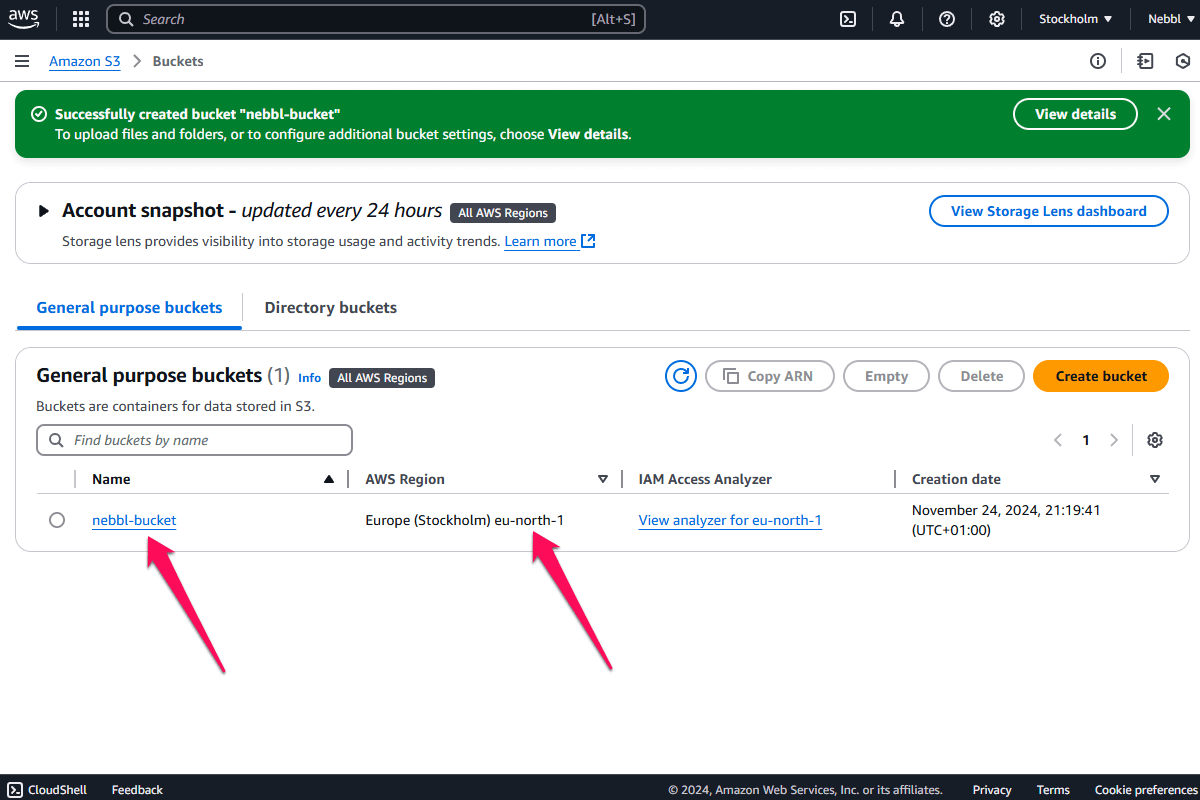
After the bucket is created you'll see it on the Buckets page. Please note down the Region value (eu-north-1 in our case), it will be the second of our 5 credentials:
Now we can also get the Endpoint value.
For AWS S3 buckets you need to simply insert the region name instead of REGION in the following pattern:
https://s3.REGION.amazonaws.com
For example, if your region is us-east-1, your endpoint will be https://s3.us-east-1.amazonaws.com. Please note it down, it is the third credential from our list.
Changing bucket settings
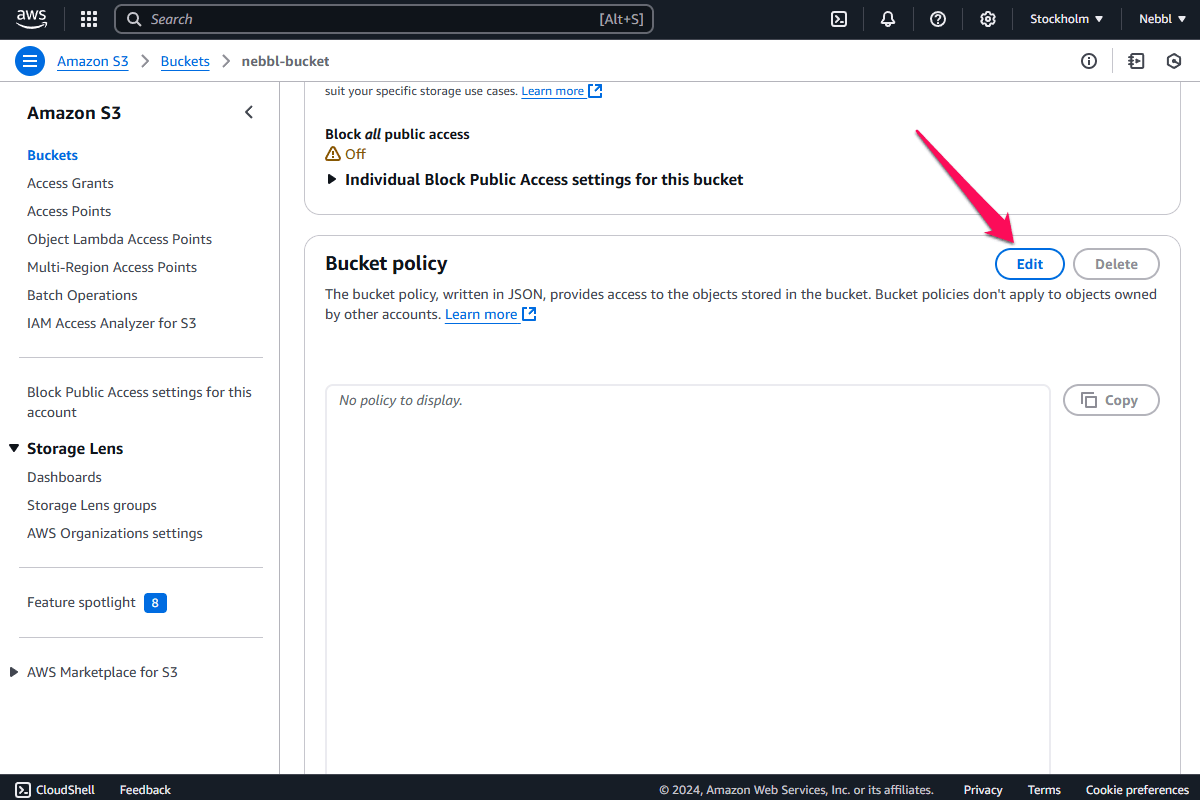
Now we need to change some settings for the bucket, so click on the bucket name to open its page and then click the Permissions tab:

Setting the bucket policy
Scroll down to the Bucket Policy section and click the Edit button.
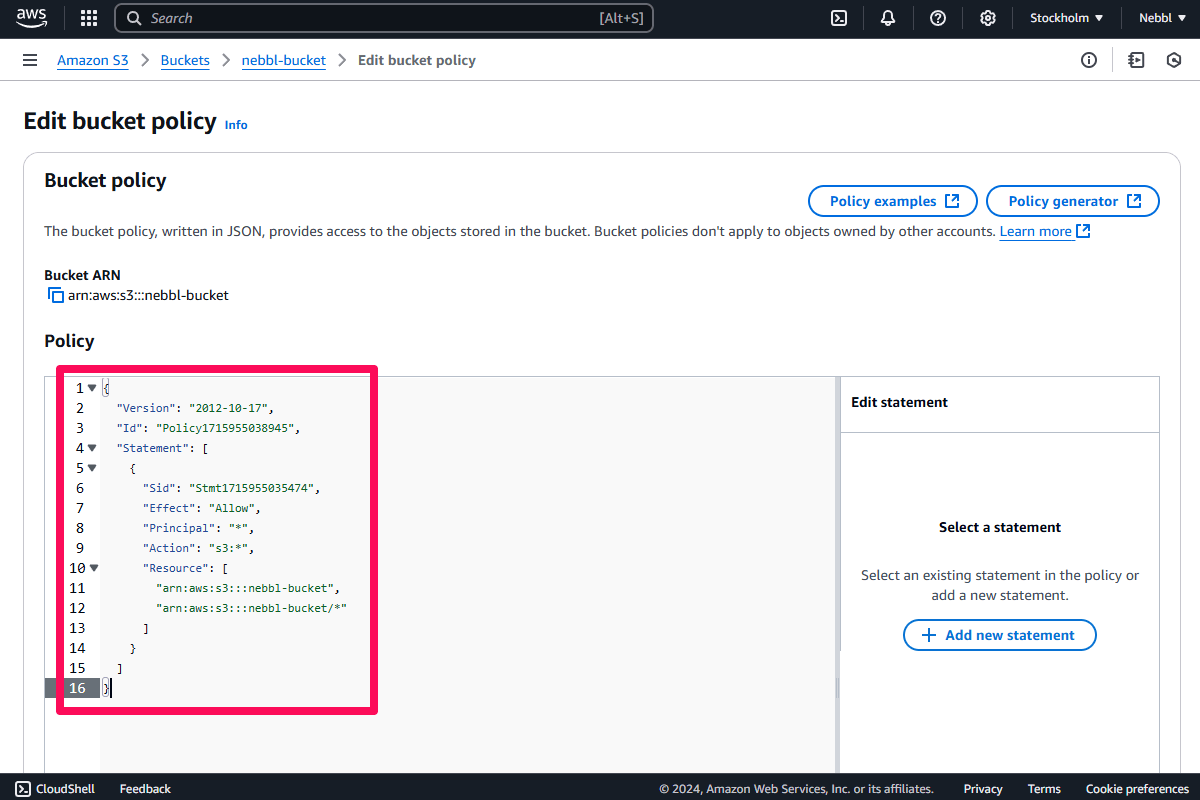
Add this policy JSON, replace BUCKET_NAME both times with your new bucket name:
{
  "Version": "2012-10-17",
  "Id": "Policy1715955038945",
  "Statement": [
    {
      "Sid": "Stmt1715955035474",
      "Effect": "Allow",
      "Principal": "*",
      "Action": "s3:*",
      "Resource": [
        "arn:aws:s3:::BUCKET_NAME",
        "arn:aws:s3:::BUCKET_NAME/*"
      ]
    }
  ]
}
So it would look like this:
Click Save changes in the bottom-right.
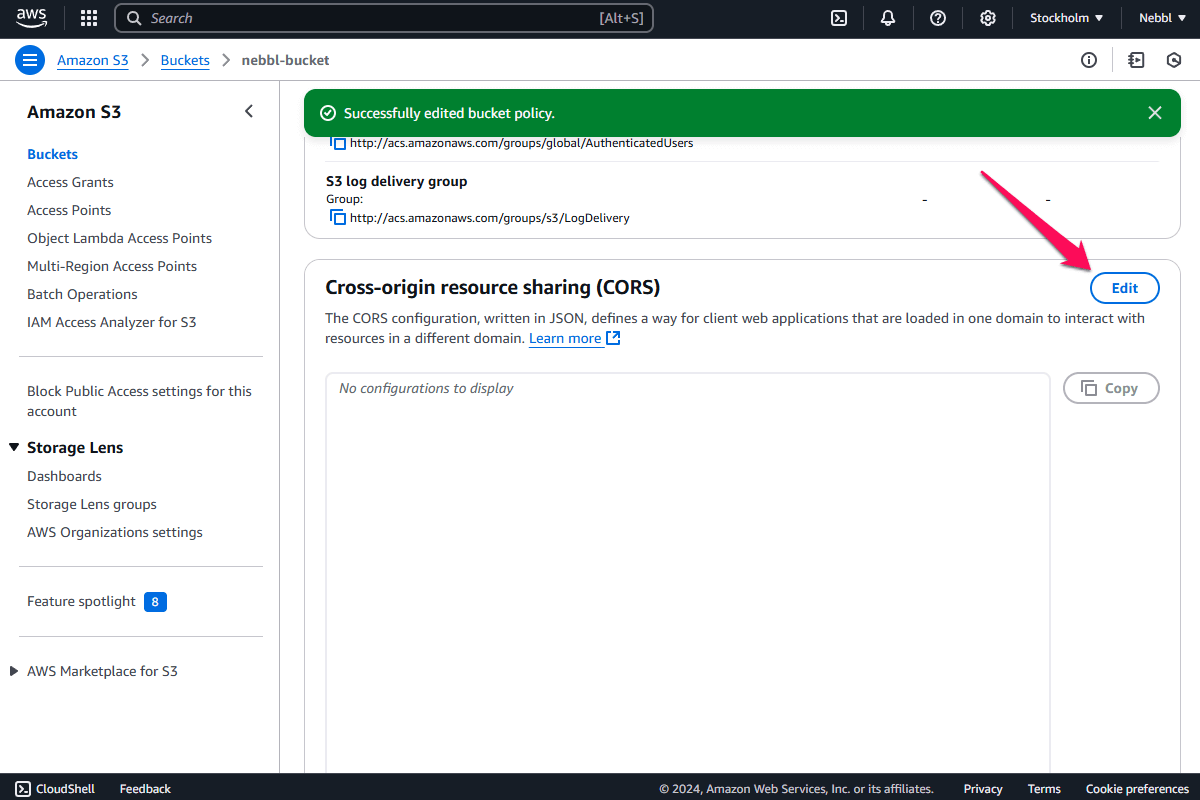
Setting the CORS policy
On the same Permissions tab, scroll down to the Cross-origin resource sharing (CORS) section and click the Edit button.
Paste the following snippet in the text field:
[
  {
    "AllowedOrigins": [
      "https://nebbl.com"
    ],
    "AllowedMethods": [
      "GET",
      "PUT",
      "DELETE",
      "POST",
      "HEAD"
    ],
    "AllowedHeaders": ["*"],
    "ExposeHeaders": [
      "ETag"
    ]
  }
]
So it would look like this:
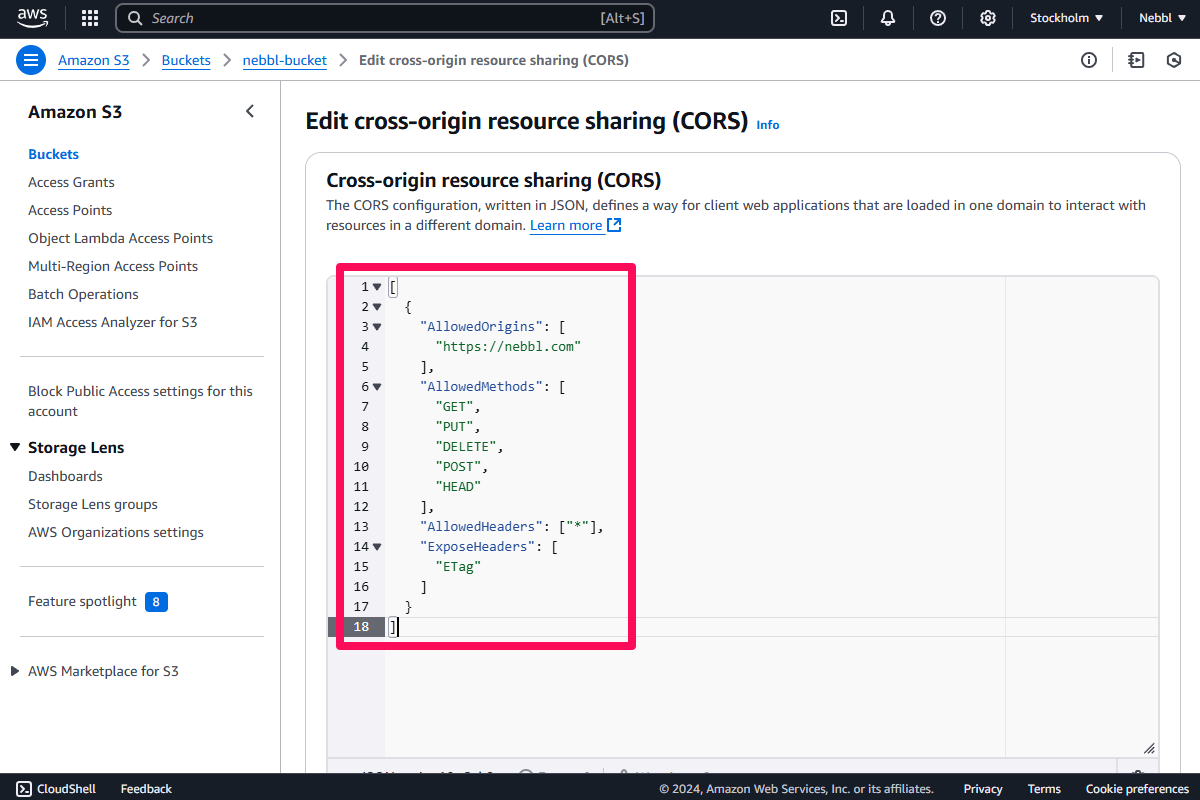
Make sure the AllowedOrigins address is exactly https://nebbl.com and doesn't contain a trailing slash (the / symbol after .com). Hit the Save changes button.
Disabling the Block all public access setting
After the bucket policies are set, we can disable the Block all public access setting.
The Block all public access setting disables unauthorized access to the bucket items. This is necessary to limit operations on the bucket to avoid excessive costs which can occur when your bucket items are accessed via direct links by large number of people or services, for example when they download them or request to show them in a web page.
So basically if your goal is to make these items available to the public via direct links, you need to leave this setting disabled.
If you just want to share your files via Nebbl short links (not direct links), you can enable the Block all public access setting to ensure that you won't run into unexpected costs.
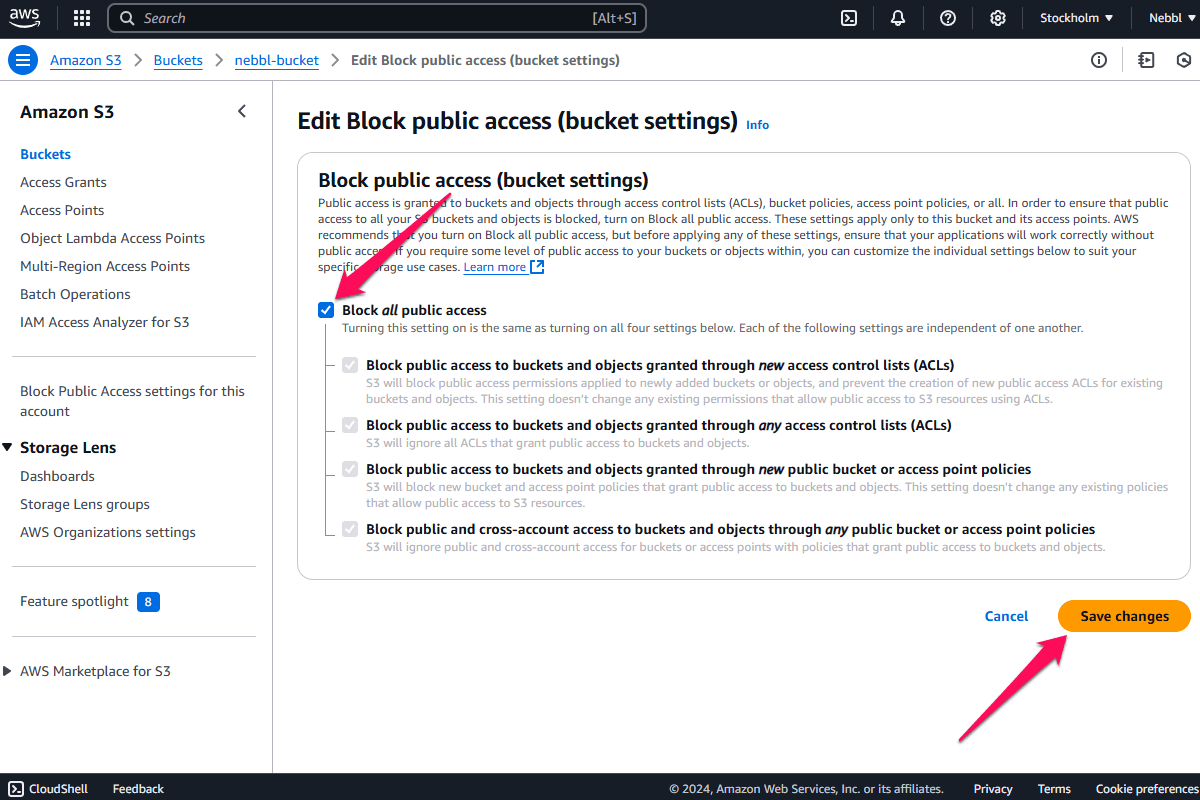
Scroll down to the Block all public access section and click the Edit button:

Check the box for Block all public access and click the Save changes button:
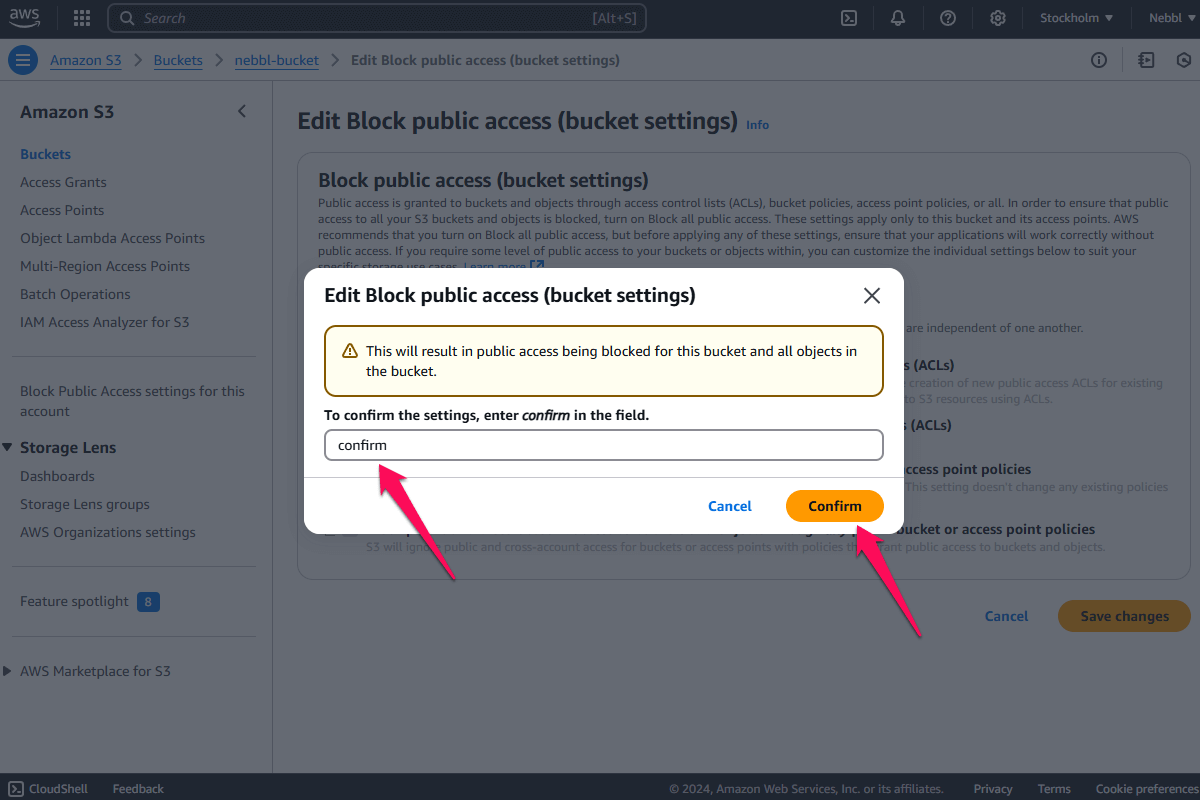
A dialog will open asking you to confirm the change. Write confirm in the text field and click Confirm to disable the Block all public access setting:
These are all the settings we need to change for the bucket and we can move on to getting the access credentials.
Getting the access credentials
There are several ways to create access keys, but the simplest secure way is to start by creating a new User.
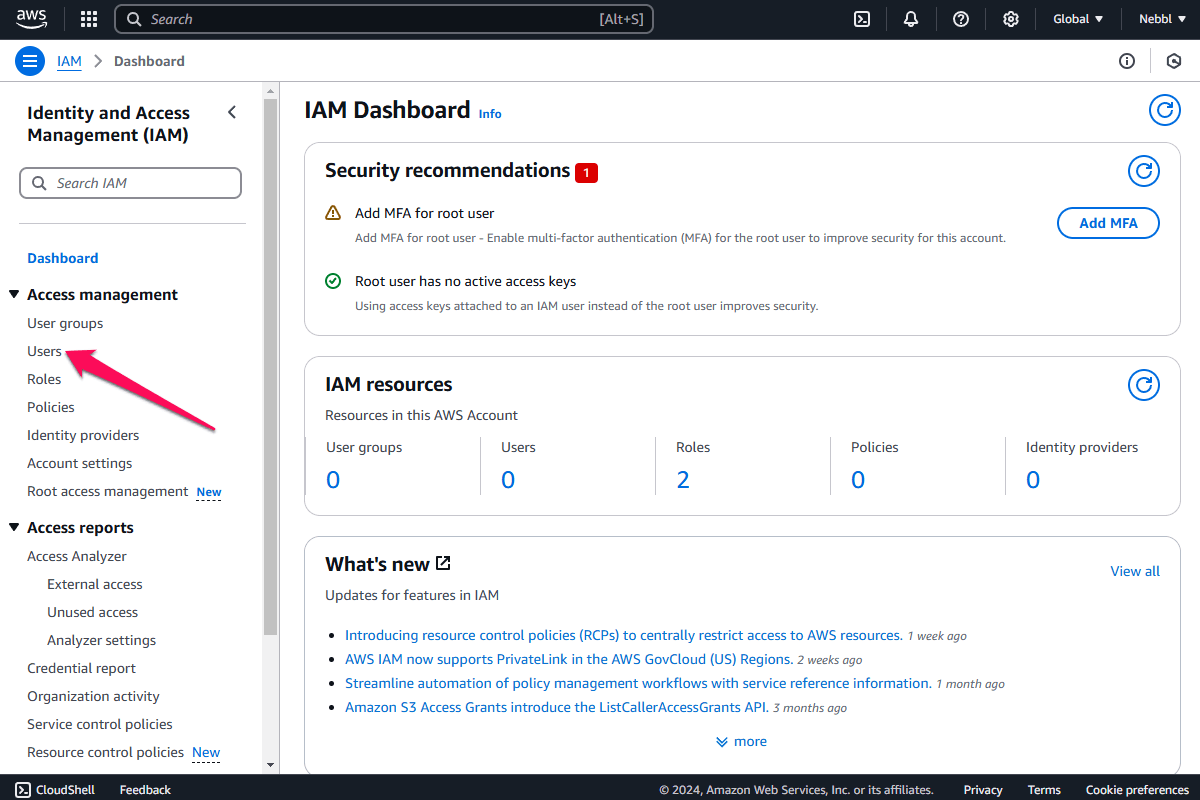
To do that, we’ll need to search for IAM in the search bar and click IAM to go to IAM (Identity and Access Management) dashboard:
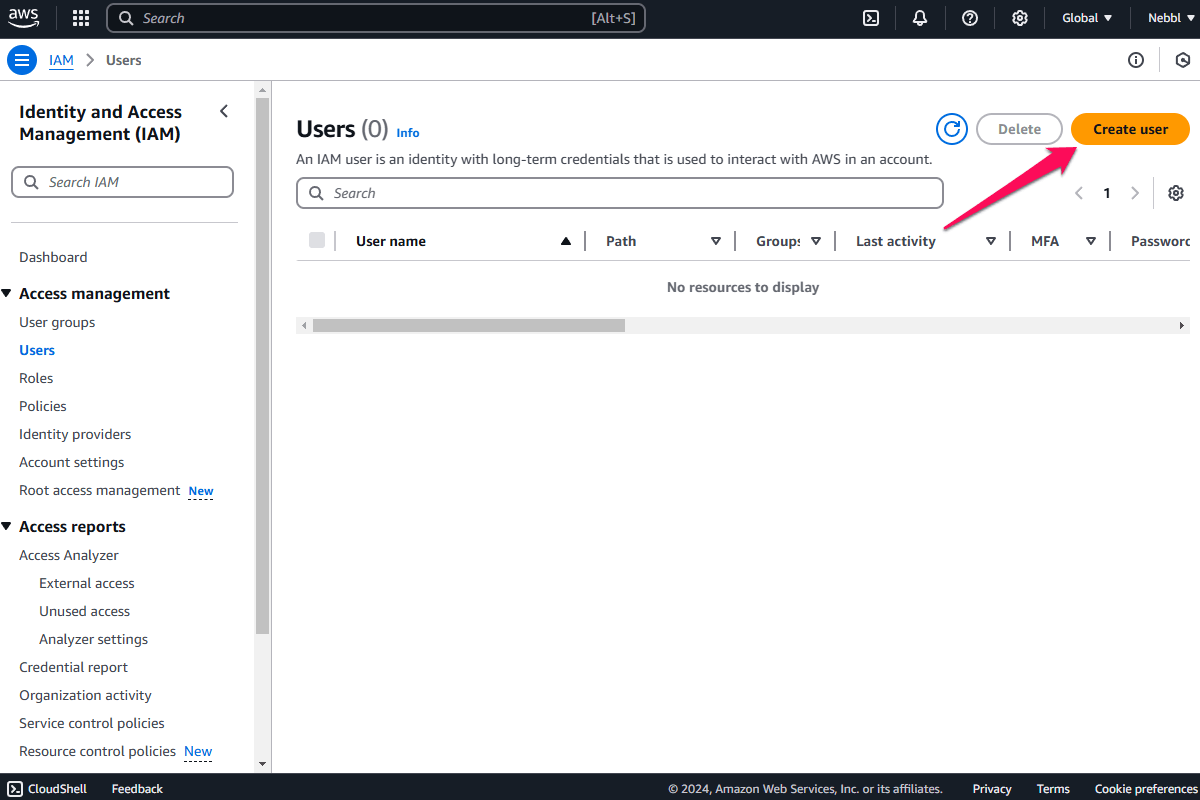
click Users under Access management in the left sidebar:
Then click Create user in the top-right:
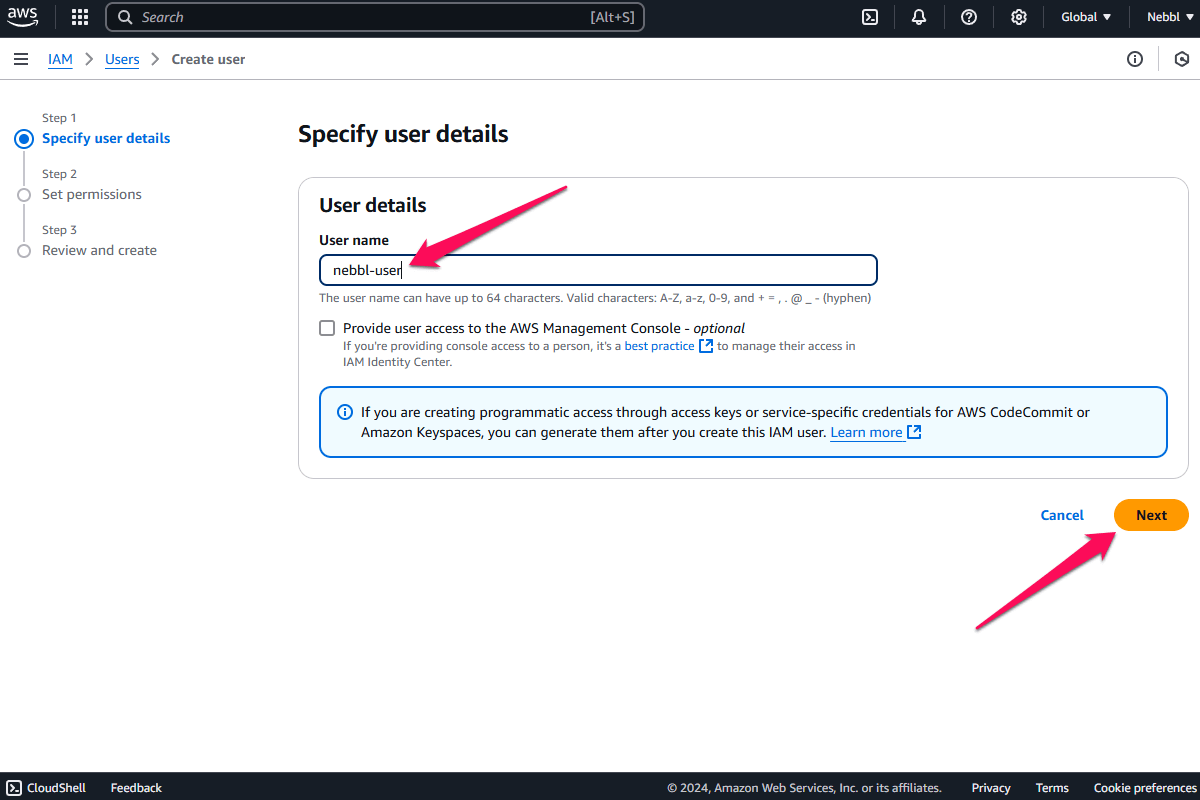
Add a user name and click Next:
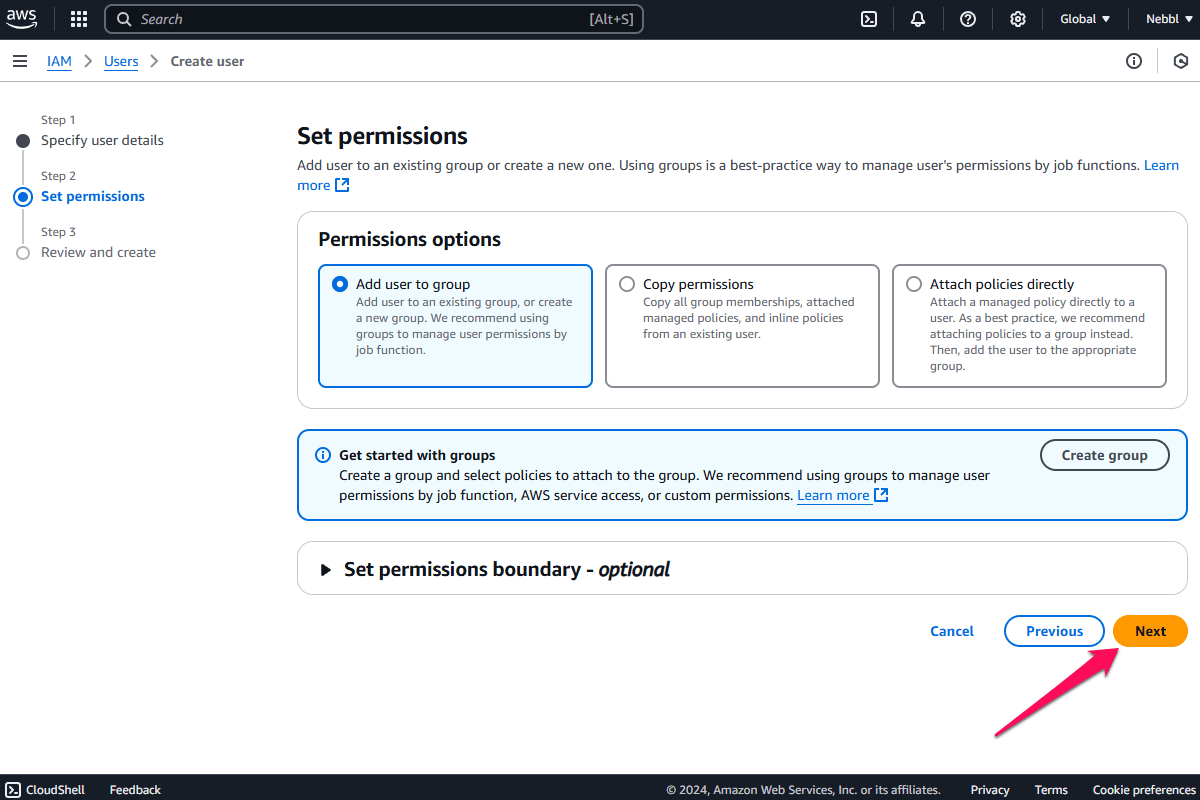
Click Next with the default setting on the next page:
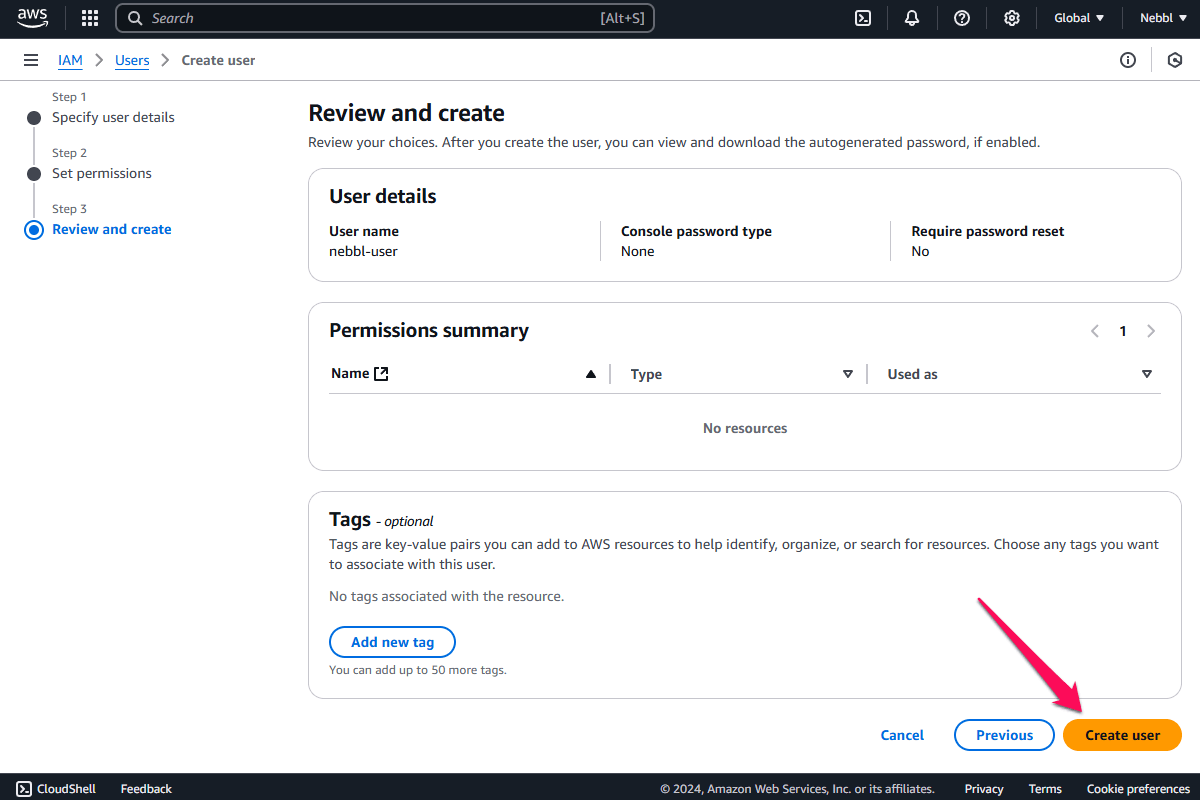
Then click Create user on the final page:
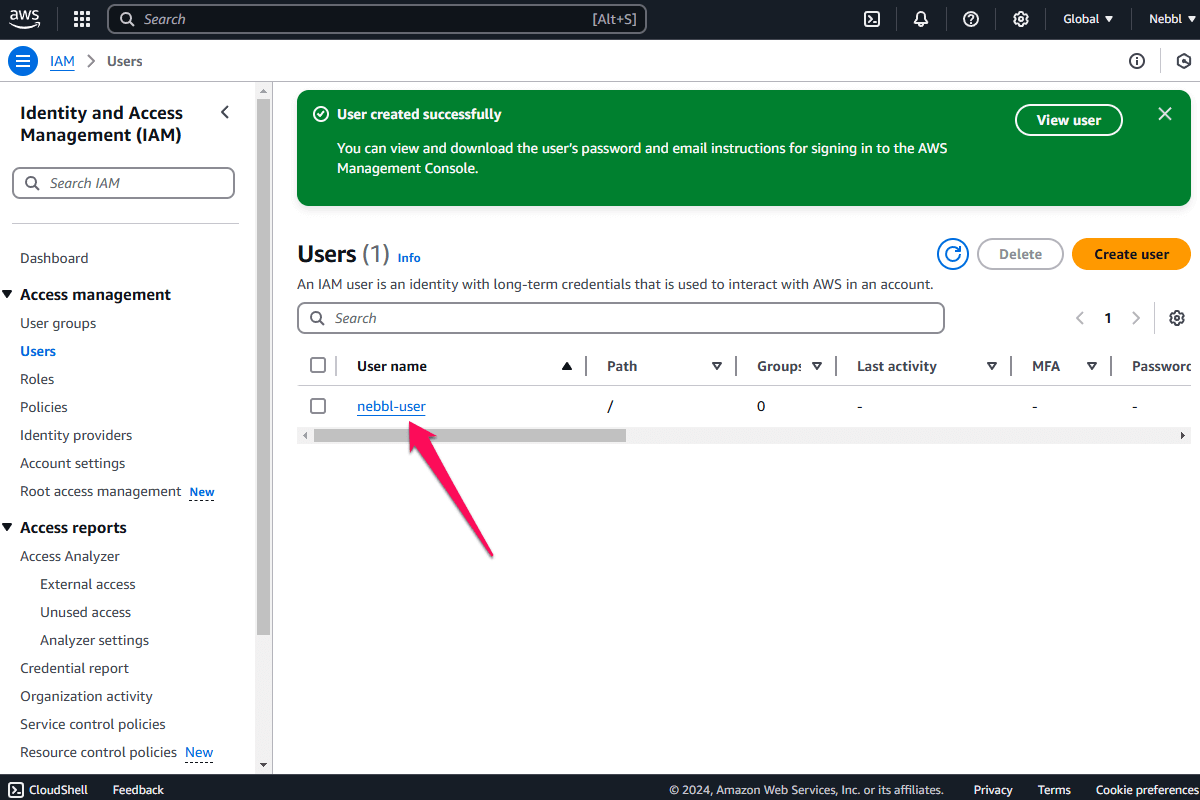
Click on the username for the User you just created:
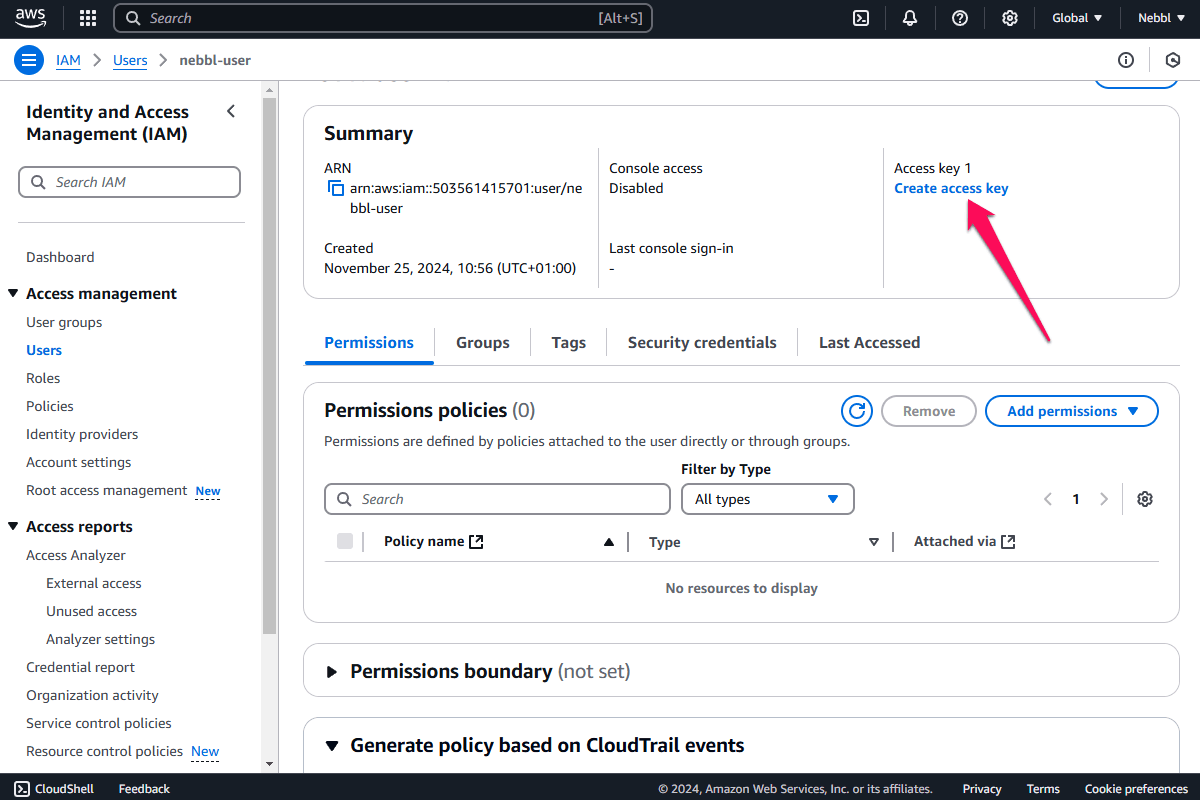
Then click Create access key:
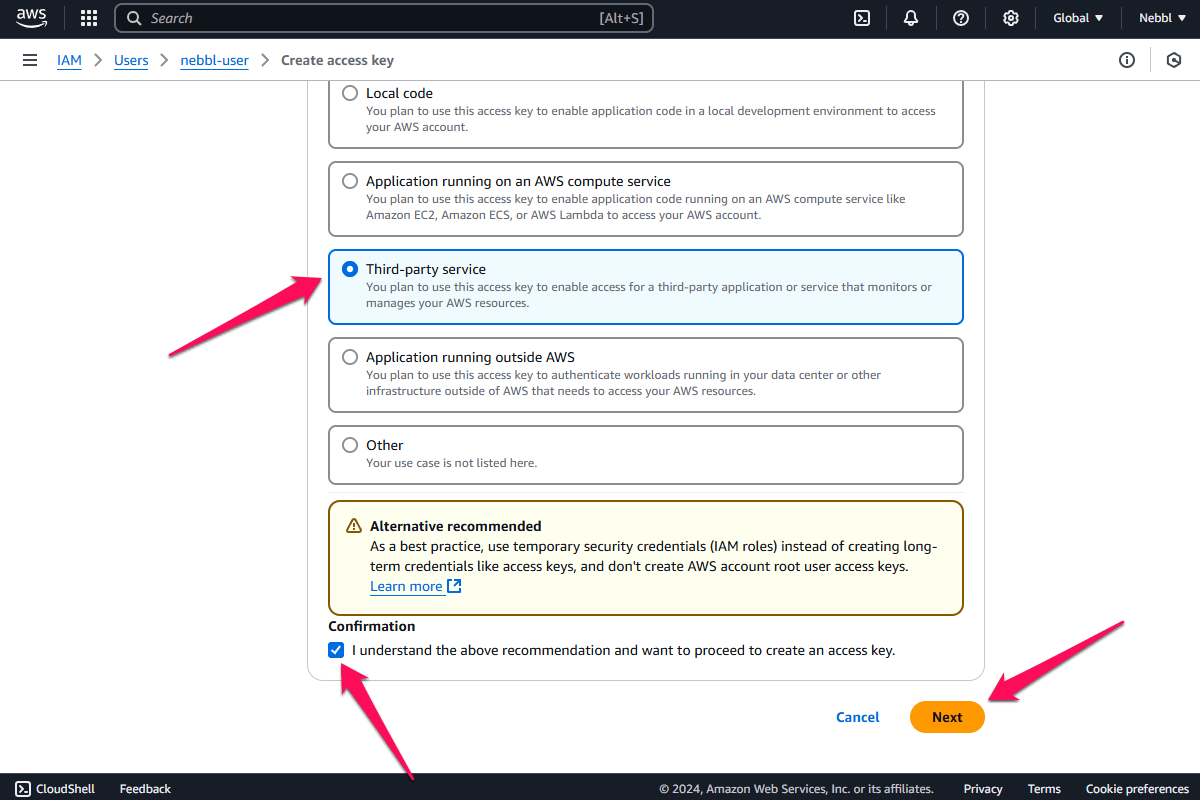
Select the option Third-party service, check the box at the bottom and click Next:
You can skip the description tag and just click Create access key here:

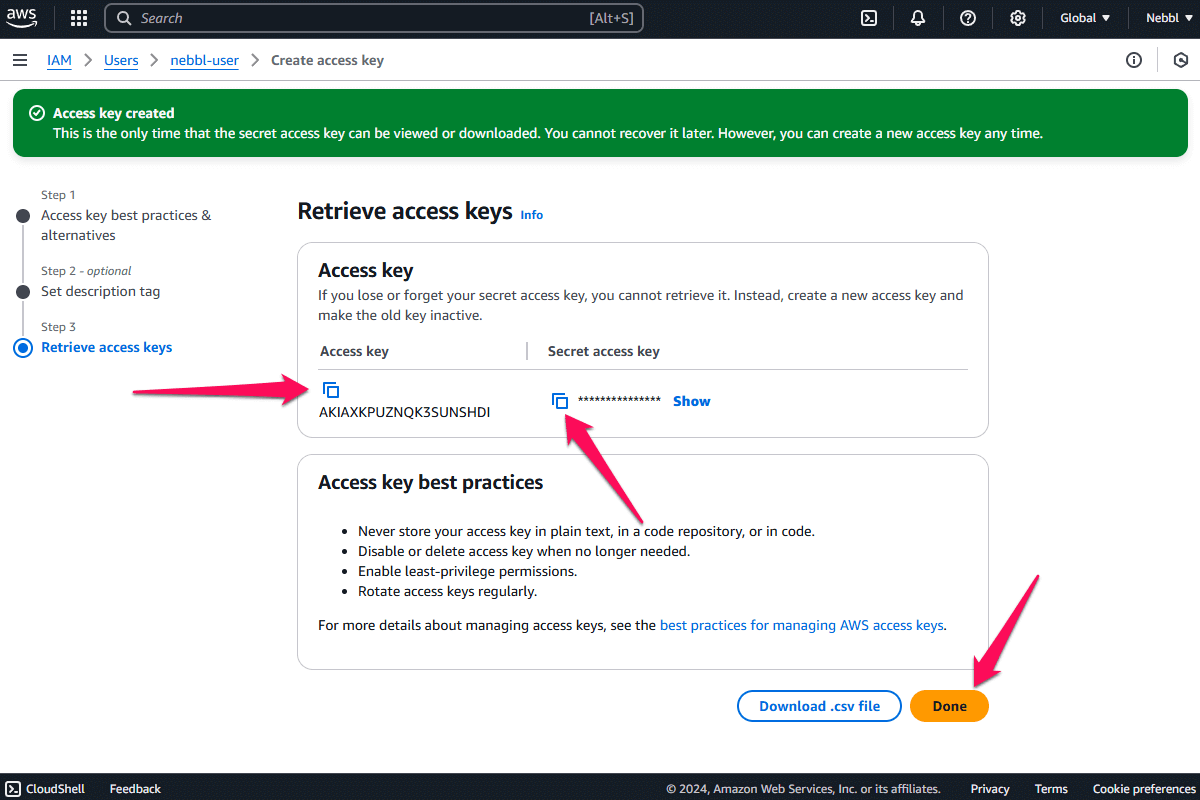
The token detail page will open with the rest of the necessary credentials for us.
The credentials on this final page will be shown only once for security reasons, so be sure to copy them to a safe private place.
Click the Copy buttons in the Access Key ID and Secret Access Key sections and copy these values to a safe private place. They are the third and fourth credentials from our list. Finally click the Done button.
Treat your Secret access key as a password. Don't share it anywhere outside of Nebbl or your cloud provider account.
Your Secret access key will be securely encrypted within the Nebbl service and is never transmitted outside of it.
That's all! Now we have all five credentials and we can add this bucket to Nebbl.