Quick Storj bucket setup
This article is also available in an extended version, which includes the instructions for setting up advanced CORS rules for enhanced security. You can read it here.
Before you can add buckets to Nebbl, you need to create them in the cloud storage provider services. Here are the detailed instructions for the Storj service.
Creating a Storj bucket
Our task is to get 4 credential items for our bucket, which are:
- Endpoint
- Bucket name
- Access key
- Secret key
Creating a Storj account and setting the encryption passphrase
Go to https://storj.io and sign up for an account if you haven't already.
After registering and activating the account you will be prompted to set your encryption passphrase:
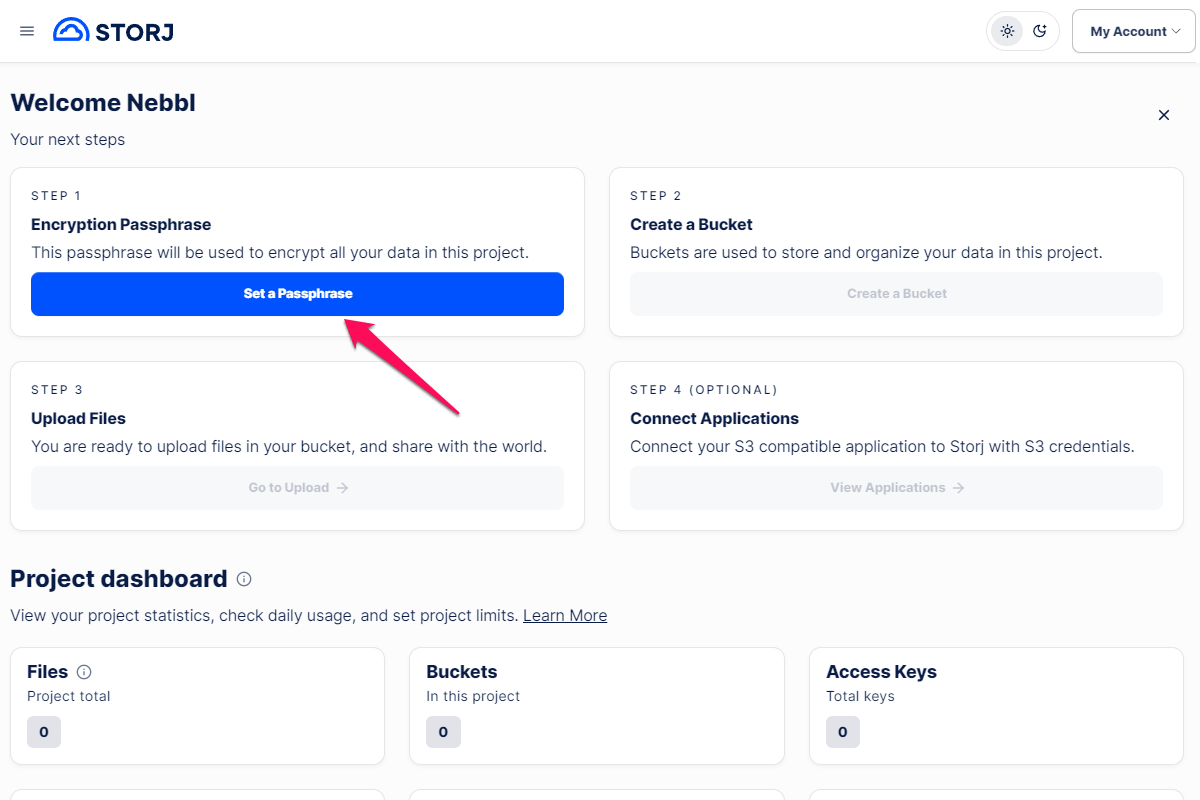
Choose to enter a new passphrase or generate a 12-word passphrase and click the Continue button. After you set your passhprase (or copy the generated one), click the Continue button again in the Success modal window.
Please note that Storj does not know or store your encryption passphrase. If you lose it, you will not be able to recover your files.
Creating a bucket
After you've set your encryption passphrase you'll see the active Create a Bucket button. Click it to start bucket creation.
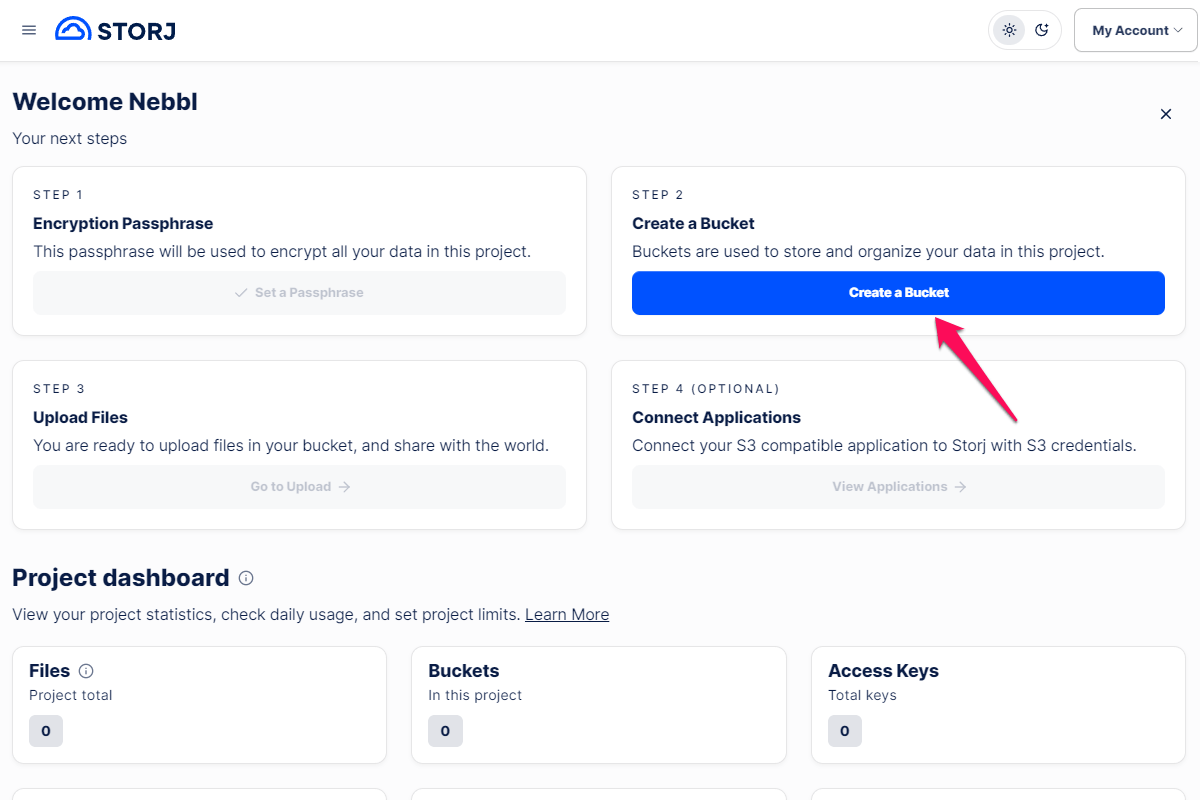
Enter your bucket name. For our purposes we chose nebbl-bucket as the name. This will be the first of our 4 credentials, please note it down. Click Next and then click the Create bucket button.
Getting the access credentials
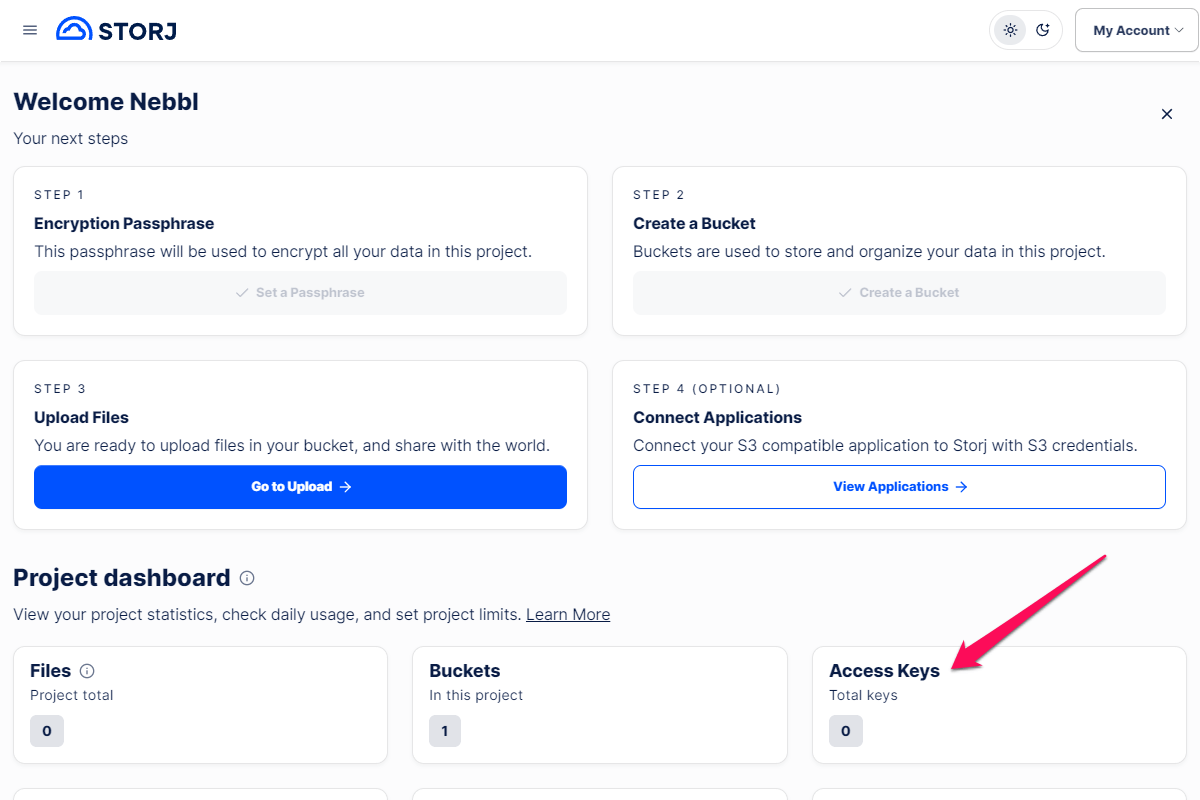
After the bucket is created click the Access Keys button on the same page:
On the Access Keys page, click the New Access Key button.
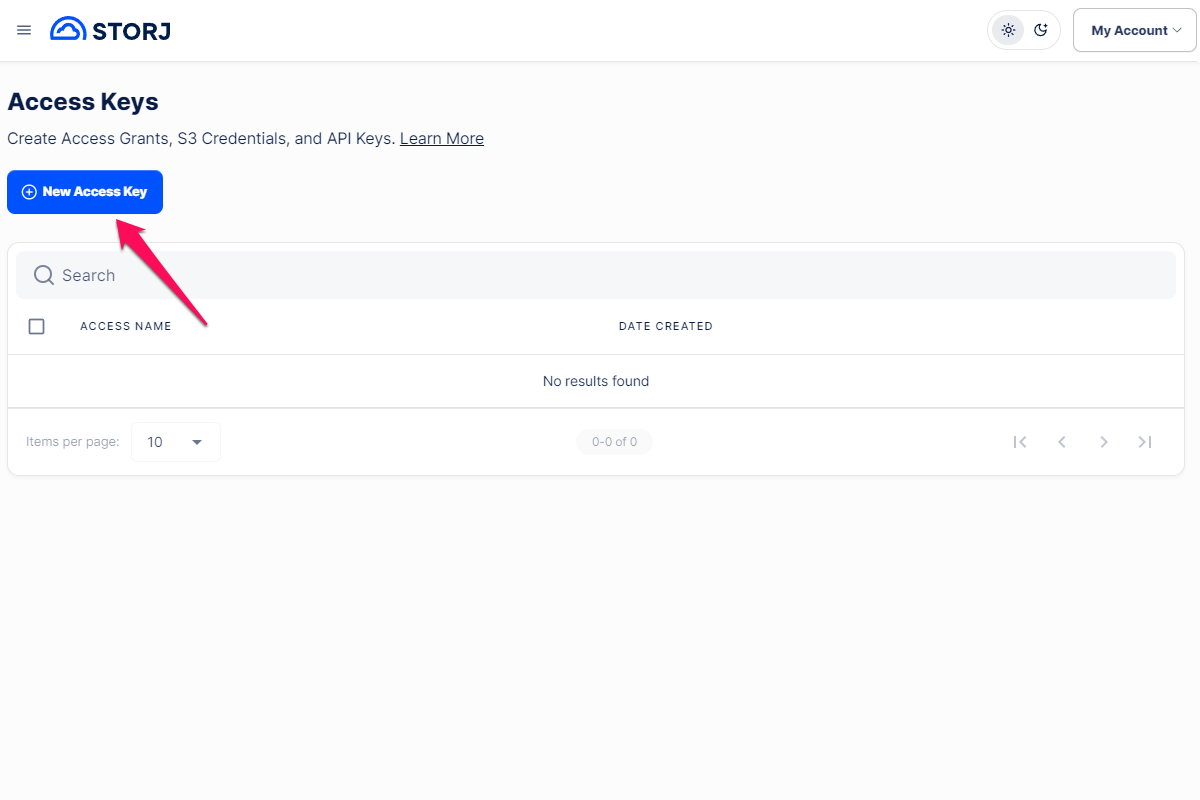
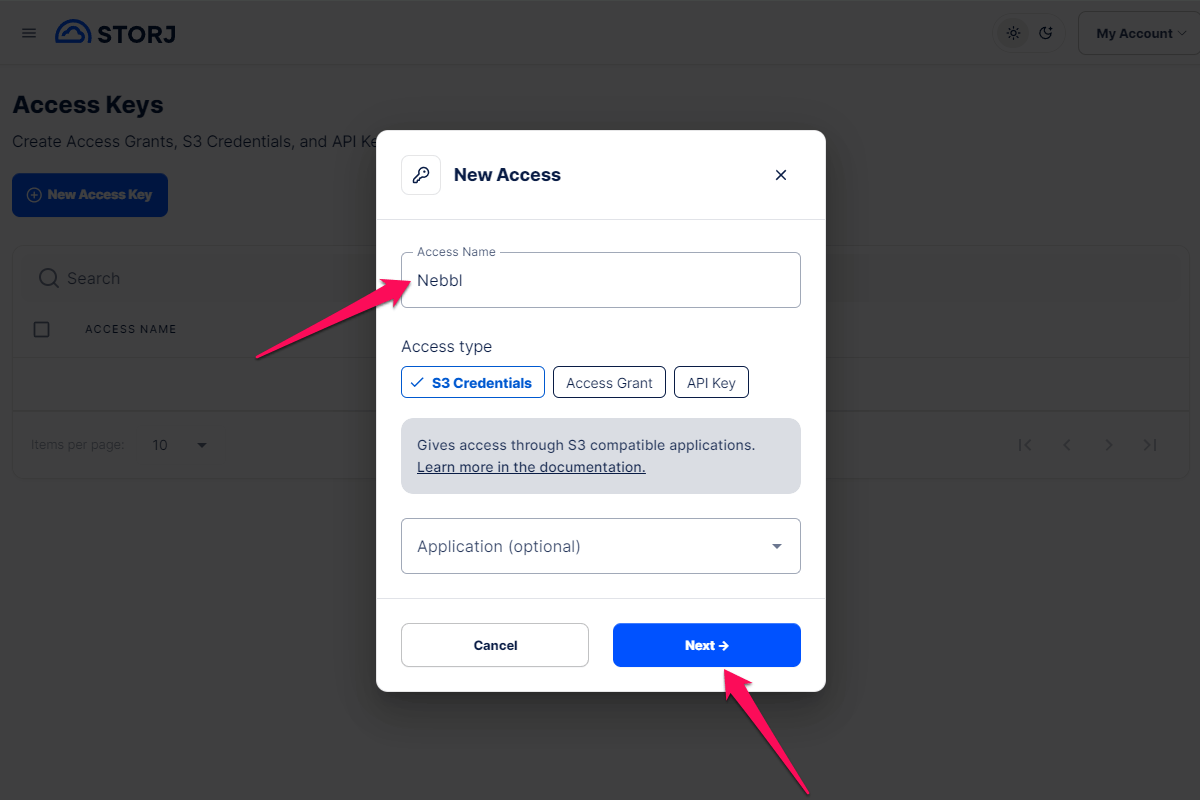
Enter any access name. For our purposes we chose "Nebbl". Leave the rest of the settings untouched and click Next:
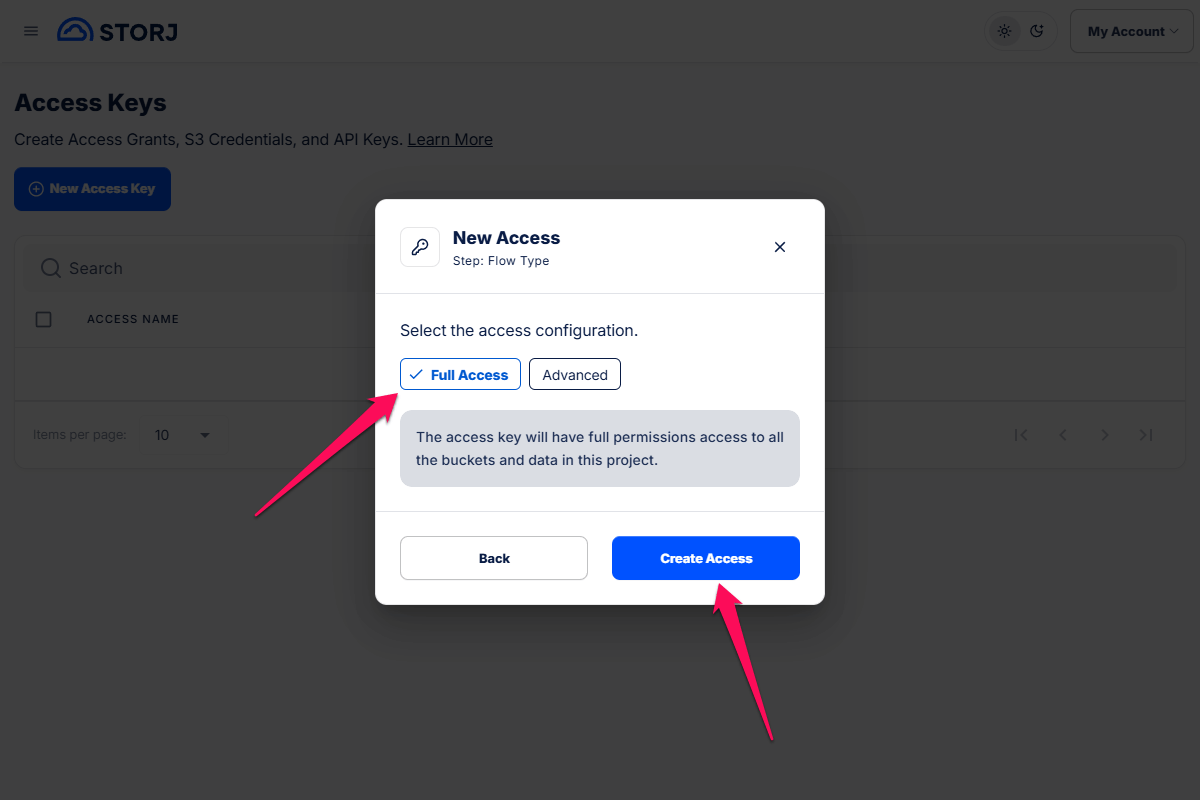
In the next modal window select the Full Access option and click the Create Access button:
The access details page will open with the rest of the necessary credentials for us.
The credentials on this final page will be shown only once for security reasons, so be sure to copy them to a safe private place.
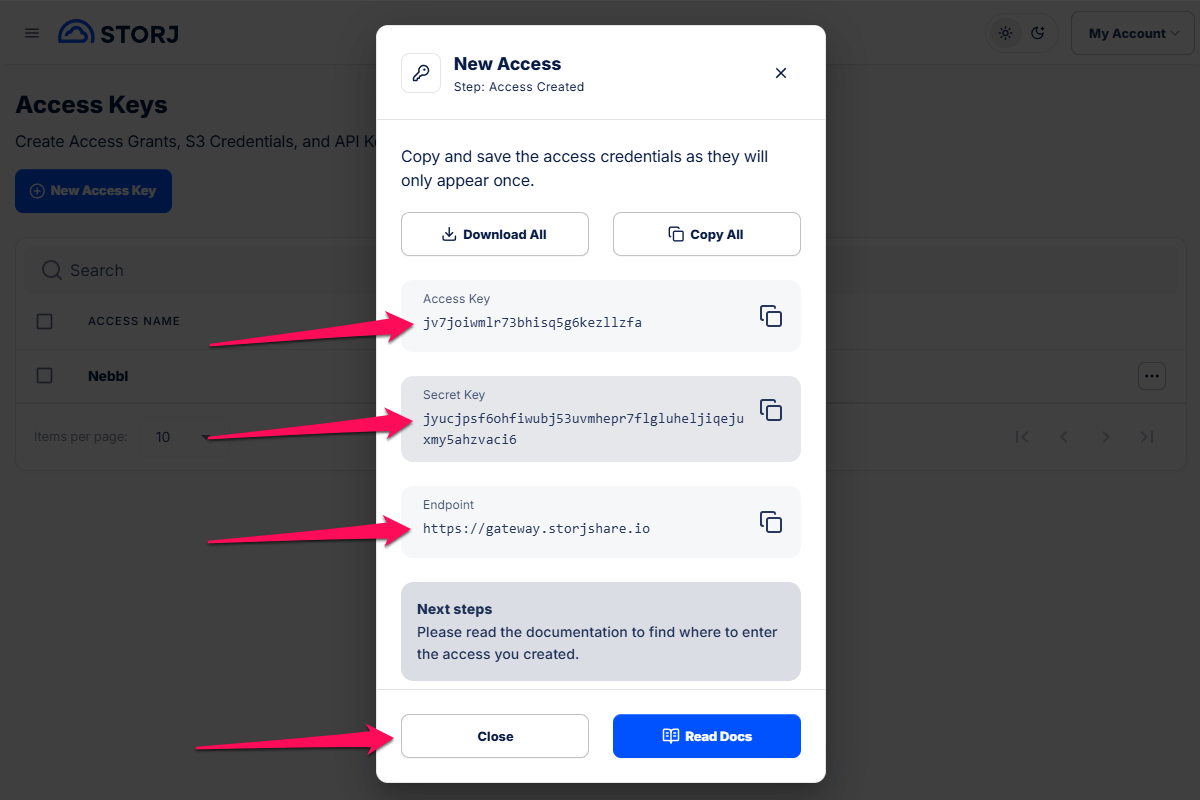
Note down the Access Key, Secret Key and Endpoint values, these are the second, third and fourth credentials from our list. Finally click the Close button.
Treat your Secret key as a password. Don't share it anywhere outside of Nebbl or your cloud provider account.
Your Secret key will be securely encrypted within the Nebbl service and is never transmitted outside of it.
That's all! Now we have all four credentials and we can add this bucket to Nebbl.